Cooking a Cake Over a Campfire Tips, Tricks, and Recipes for Sweet Outdoor Success
- Originally Published
- Last Updated:
You’ve roasted marshmallows and grilled hot dogs, but have you ever pulled a warm, freshly baked cake from a campfire? It sounds impossible, but it’s one of our favorite camping traditions. Every year, Bill insists on spending his birthday out under the stars, which left us with a fun challenge—how do you celebrate with cake when your “kitchen” is a campfire? Learning to bake over the flames not only solved that problem, it turned into a highlight of our trips. There’s nothing quite like the smell of cake drifting through the pines while everyone gathers around, waiting for that first slice.
Whether you’re camping with kids, hosting a backyard bonfire, or testing your culinary skills in the wild, we’ll walk you through everything you need—from gear and heat control to recipe options. You’ll also get decorating tips, safety guidance, and cleanup strategies so your cake turns out delicious and your campsite stays safe and eco-friendly.

Gear & Prep: Setting Yourself Up for Success
The first step in campfire cake baking is having the right tools. You don’t need to pack a full kitchen—just a few key items make all the difference.
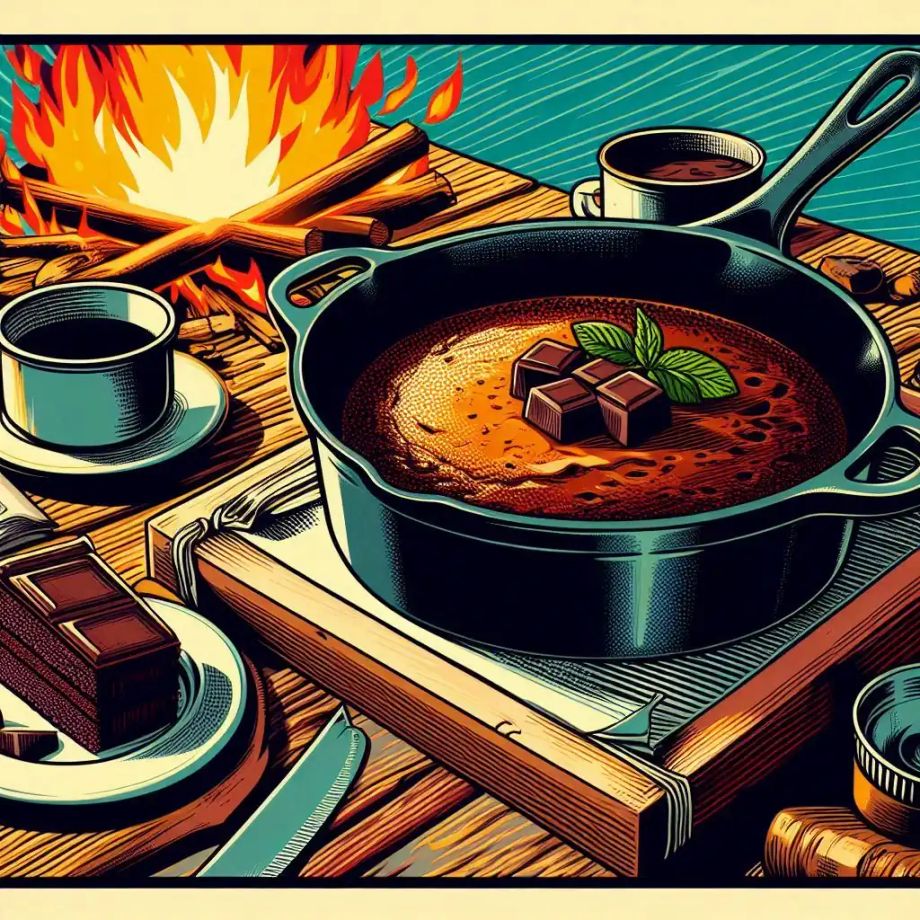
Our Favorite Method: Baking in a Dutch Oven
Of all the ways we’ve tried to bake a cake over a campfire, the Dutch oven is hands-down our favorite. It’s reliable, versatile, and delivers consistently good results—even if the weather isn’t cooperating. The thick cast iron walls hold heat beautifully, and the lid design lets you cook from both the top and bottom for an even bake.
- Prep your oven – Lightly oil the inside or line it with parchment paper to prevent sticking. If you want easy cleanup, you can even use a foil liner made for Dutch ovens.
- Mix your batter – Whether you’re using a boxed mix or a scratch recipe, prepare it in a separate bowl so you’re ready to pour.
- Preheat with coals – Set a few hot coals under the Dutch oven for a few minutes before adding the batter. This helps prevent the dreaded “soggy bottom.”
- Bake with top and bottom heat – Once your batter is in, place the lid on the Dutch oven and add a ring of coals around the rim of the lid. Keep a smaller amount of coals underneath than on top—cakes need gentler heat from below and stronger heat above.
- Rotate for even cooking – Every 10–15 minutes, turn the Dutch oven a quarter turn in one direction and the lid a quarter turn in the opposite direction. This evens out hot spots from wind or uneven coals.
- Check doneness – Use a toothpick or skewer to test the center. If it comes out clean (or with just a few moist crumbs), your cake is ready.
- Cool slightly before serving – Letting it sit for 5–10 minutes helps it set and makes slicing easier.
💡 Adventureite Tip: The Dutch oven isn’t just for cake—once you get the hang of it, you can make cobblers, breads, and even lasagna over the campfire. We linked a cookbook of delicious dutch oven desert ideas below.

Sunnydaze 8-Quart Pre-Seasoned Cast Iron Deep Black Dutch Oven Pot with Lid and Handle - Camp Chili, Stew, and Soup Pot HEAVY-DUTY CAST IRON DESIGN: The pan is made from heavy-duty, pre-seasoned cast iron to retain heat better than other regular cookware.
Runner-Up Method: The Campfire Mug Cake
When we don’t feel like hauling a heavy Dutch oven—or when everyone wants to customize their own dessert—we turn to the campfire mug cake. It’s lightweight, easy, and perfect for smaller groups or solo campers. Plus, it’s a fun way to let everyone choose their own mix-ins, from chocolate chips to berries.
- Choose a heat-safe mug – Ceramic or enamel mugs work best. Avoid thin glass or anything not rated for high heat.
- Mix directly in the mug – Add 4 tablespoons of cake mix, 2 tablespoons of water or milk, 1 tablespoon of oil, and any extras you like (fruit, chocolate chips, cinnamon, etc.). Stir until smooth.
- Cover loosely – A piece of foil over the top helps retain heat without creating pressure.
- Cook over indirect heat – Place the mug near hot coals or on a grill grate above the fire. Avoid direct flames, which can scorch the outside before the inside sets.
- Check after 10 minutes – Mug cakes cook fast. Test with a toothpick—if it comes out clean, you’re ready.
- Enjoy right away – These are best eaten warm, straight from the mug (bonus points if you add whipped cream or berries on top).
💡 Adventureite Tip: Pre-pack dry ingredients in small jars or bags so you can skip measuring at camp.
Campfire Cookware Comparison
| Cookware Option | Pros | Cons |
|---|---|---|
| Dutch Oven | Even heat, versatile, works for many recipes | Heavy to transport |
| Double Cast Iron Skillet | Creates makeshift oven, great for smaller cakes | Smaller capacity |
| Foil Packet | Lightweight, minimal cleanup | Easy to scorch, less even cooking |
| Mug Cake (heat-safe mug) | Fun single servings, minimal gear | Limited size, slower for groups |
| Makeshift Rock Oven | Great bushcraft challenge, no special gear needed | Harder to control temperature |
Heat Management: The Real Secret to Campfire Baking
Baking over a campfire isn’t about flames—it’s about steady, even heat from embers. Here’s how to get it right:
- Build a strong fire and let it burn down to glowing coals.
- Control the temperature by moving coals closer or farther from the pot.
- Top & bottom heat – Place coals both under and on top of a Dutch oven lid for even baking.
- Rotate regularly – Turn the Dutch oven and lid every 10–15 minutes to avoid hot spots.
- Test for doneness – A toothpick or skewer should come out clean. If not, give it another 5–10 minutes.
Common Mistakes to Avoid
If you aren’t an experienced cook, baking a cake at home can be difficult. When doing it over a campfire there are a lot more variables to account for. Don’t worry though, here are the most common pitfalls to watch for:
- Cooking over open flames – Flames scorch the outside while leaving the inside raw. Always bake over steady, glowing coals.
- Peeking too often – Every time you lift the lid, you lose valuable heat and slow the baking process. Check only when necessary.
- Not rotating the pot – Heat is rarely even outdoors. Rotate both the Dutch oven and lid every 10–15 minutes to prevent hot spots.
- Skipping heat on top – Without coals on the lid, the top of your cake will cook much slower than the bottom.
- Forgetting to prep your cookware – A quick spray of cooking oil or lining with parchment paper will save you from a stuck or torn cake.
Campfire Cake Recipes
Before we dive into the recipes, here are a few tried-and-true tips to make sure your campfire cake turns out as good as it smells. First, keep your ingredients organized—pre-measuring dry mixes into labeled bags at home will save you time and mess at camp. When it comes to eggs, they’re a must for most cakes but can be tricky to transport. We’ve got you covered with a guide on how to bring eggs camping without them breaking as easily.
Temperature control is your secret weapon—use hot coals rather than open flames, and don’t be afraid to rotate your Dutch oven or skillet every 10–15 minutes for even baking. If you’re at higher elevations, remember that cakes may take a bit longer to cook, so check doneness with a toothpick instead of relying on time alone. And lastly, patience pays off—resist the urge to peek too often, as lifting the lid lets out valuable heat and slows the process.
1. Beginner’s Boxed Cake (No-Fail Method)
- 1 box cake mix (any flavor)
- 3 eggs
- 1/2 cup oil
- 1/2 cup water or milk
- Cooking spray or parchment paper
- Mix ingredients per box directions.
- Spray Dutch oven or line with parchment.
- Pour batter in, cover, and bake 25–35 minutes with coals on top and bottom.
- Rotate halfway through; check doneness.
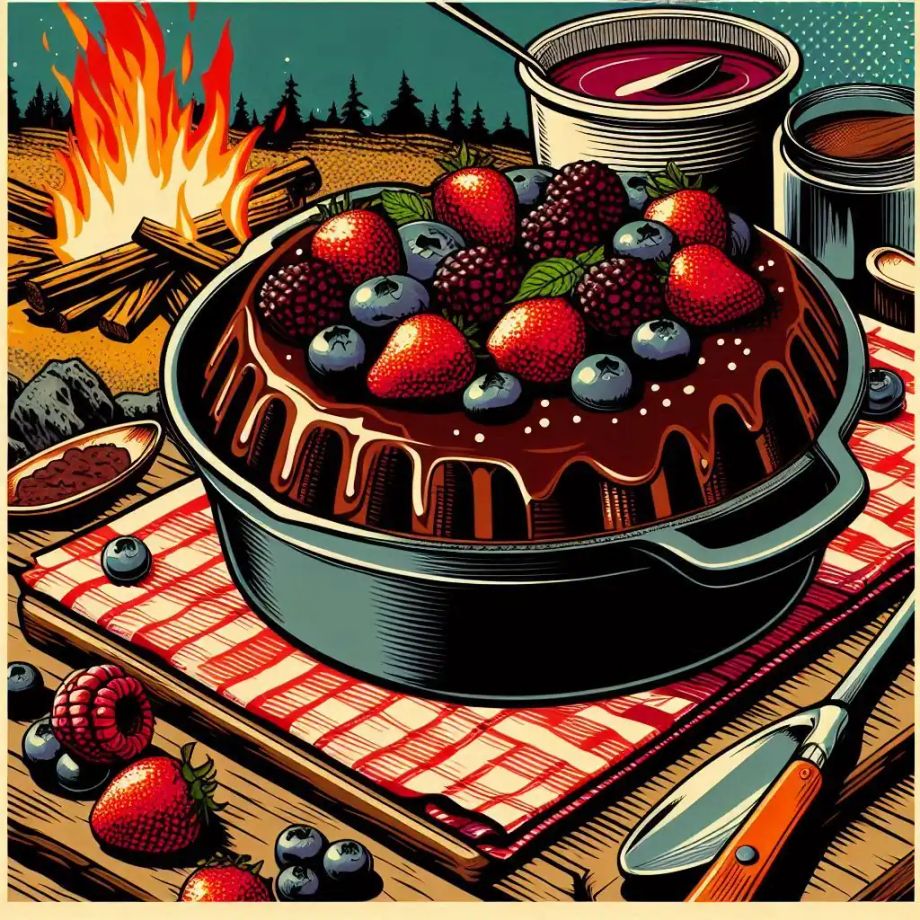
2. Dutch Oven Chocolate Pudding Cake (Rich & Gooey)
- 1 box chocolate cake mix
- 1 box instant chocolate pudding
- 3 eggs
- 1/2 cup oil
- 2 cups milk
- 1 cup chocolate chips
- Mixed berries (optional but recommended)
- Prepare cake mix and pudding separately.
- Pour cake batter into Dutch oven, then swirl pudding through.
- Sprinkle with chocolate chips.
- Bake 30–40 minutes until set but still fudgy in the center.
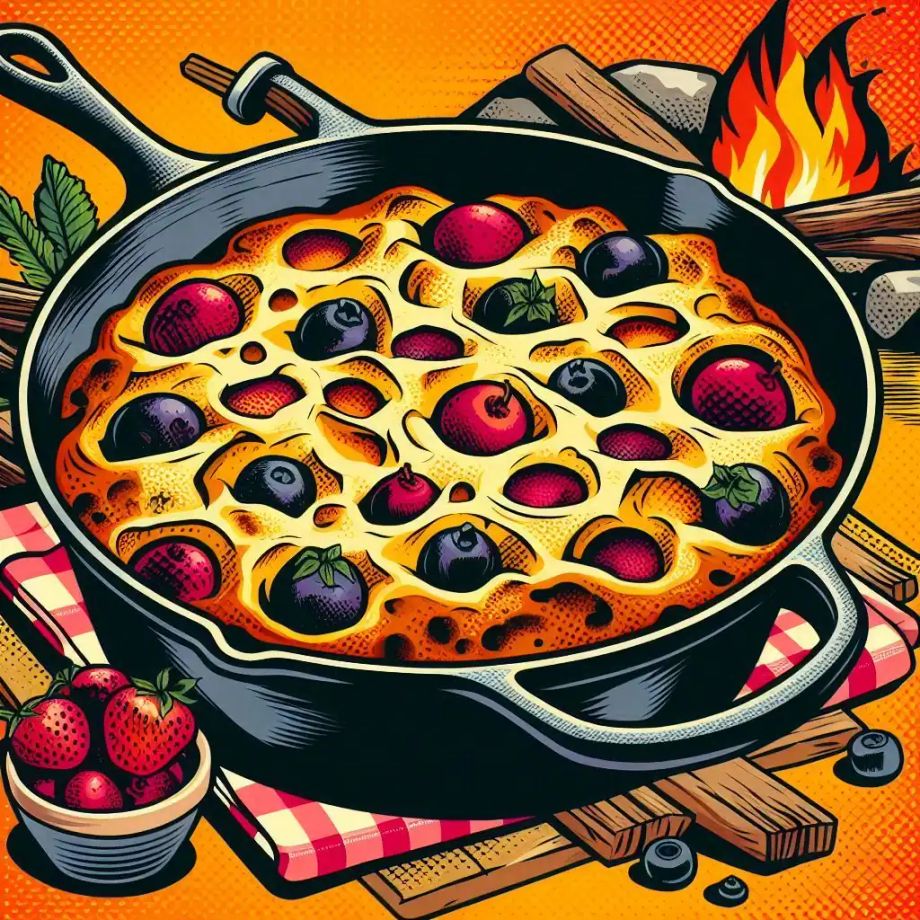
3. Fruit Dump Cake (Easiest Crowd-Pleaser)
- 2 cans pie filling (peach, cherry, or apple)
- 1 box yellow or white cake mix
- 1/2 cup butter, sliced
- Spread pie filling in the bottom of Dutch oven.
- Sprinkle cake mix evenly over top.
- Dot with butter slices.
- Bake 35–40 minutes until golden brown.

Campfire Cobbler Cookbook: Sweet & Savory Recipes for Outdoor Baking Beyond the Basics: Elevate Your Campfire Cooking - Delicious and Creative Cobbler ... Campfire, Dutch Oven, and Backyard Cooking
Decoration & Serving Ideas
Look, we aren’t fancy, so the best you can expect at our campsite is some frosting or berries but maybe you are. If so please share your pictures with us, we would love to see your campfire masterpieces.
- Campfire look: Use wafer “logs” and candy “flames” for fun themed cakes.
- Dust with powdered sugar for a simple, elegant touch.
- Add fresh berries for color and brightness.
Safety & Eco Tips
For us, safety and caring for the places we camp aren’t just checkboxes—they’re part of why we love being out here in the first place. We’ve seen firsthand how quickly a beautiful campsite can turn dangerous if a fire gets out of hand, and how easily a careless cook can leave behind a mess that spoils the view for the next campers and attracts critters. Please take an extra moment and follow these tips.
- Keep your fire 20 feet from tents, dry brush, or gear. Read our full campfire safety guide →
- Wear heat-resistant gloves when handling cookware. Cast iron gets hot and stays hot for a long time.
- Never leave a fire unattended.
- Soap the outside of your Dutch oven before cooking—it makes soot cleanup easier.
- Follow Leave No Trace: Keep your campground clean and pack out trash when you leave.
Final Thoughts
Baking a cake over a campfire is more than just dessert—it’s an experience. With the right gear, heat control, and a recipe you trust, you can serve up something truly special under the open sky. Start simple, experiment with flavors, and don’t be afraid to get creative with decorations.
Next time you pack for a camping trip, slip in a cake mix and a plan—you might just become everyone’s favorite camp chef.
If You Found This Helpful, Please Share:
By Summer and Bill

Summer and Bill are the dynamic duo behind Adventureite.com, a blog dedicated to inspiring others to explore the great outdoors. With a combined lifetime of experience traveling and adventuring across America, they have a wealth of knowledge to share. From hiking to camping, kayaking to travel, Summer and Bill are passionate about helping others discover the beauty of the natural world.